Showing posts with label DIY. Show all posts

Wednesday, June 19, 2013

DIY: Pennant Banner

Disclaimer: My banner is not actually the pennant shape. I had intended for it to be but went with the rectangular route.

A coworker's birthday was coming and I wanted to make her a hand-made gift to show that I appreciate her. I've been obsessed with Pennant Banners and decided to give one a go. I was actually really pleased with the process. The materials used are very common craft finds so finding the exact colors/patterns I wanted was a breeze. Assembly of the banner wasn't too difficult either. This is defiantly a good project for someone who feels they lack the crafting gene.


MATERIALS:
  • Card-stock or thicker material for base layer of banner flags
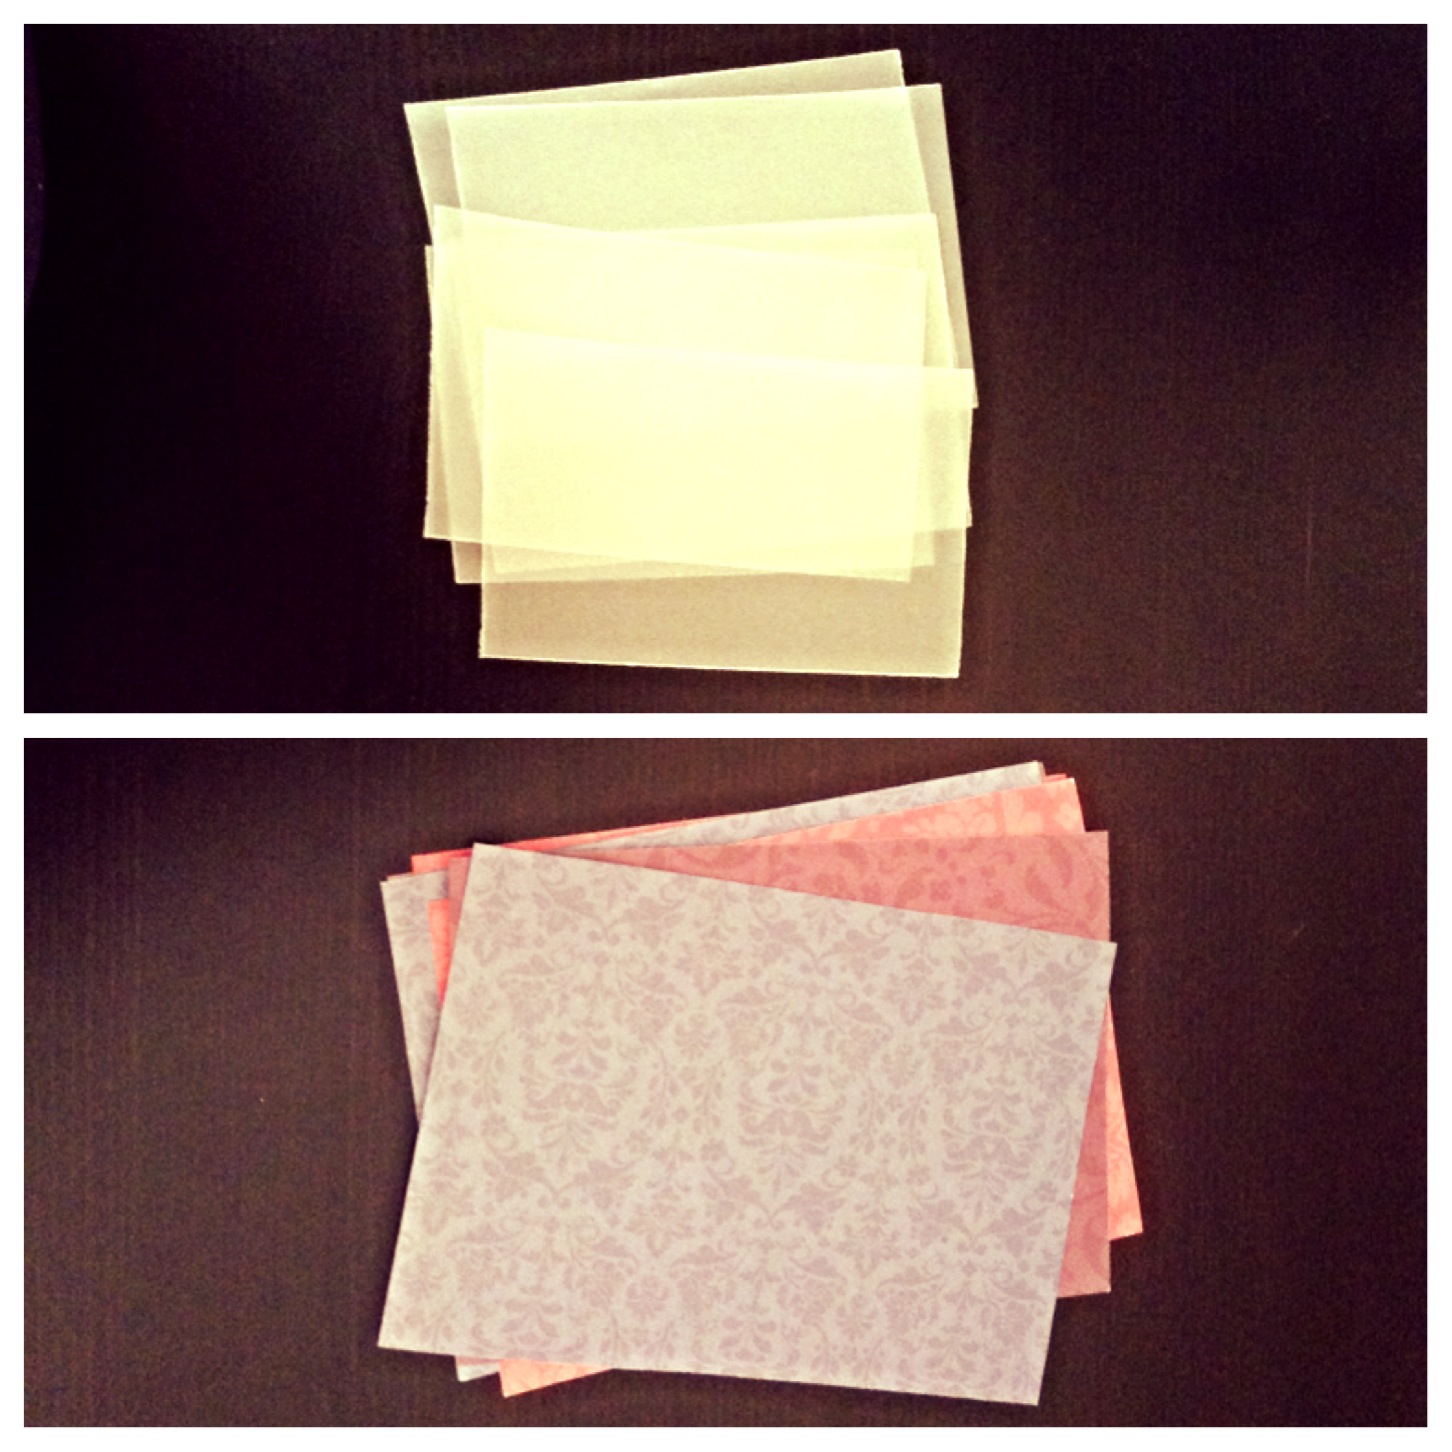
  • A second color paper for accent layer on base. I used vellum/translucent paper.
  • Glue/tape or some way to bind your two layers. I used push-pin brads.
  • Stick on letters (Or stencil and pens to fill)
  • Ribbon
  • Hole Punch
  • Paper Flower Stickers for accent


PROCESS:

Measure and cut your layers for the flags. Make sure you use two different measurements - you'll want the base layer to be slightly larger than the accent layer so that both layers are visible. By using rectangular shapes measuring was quite easy and didn't have to be proportional. If you're using the traditional pennant shape you'll want to make sure you're keeping the same shape as the base layer, just reducing the size. Make sure to count out the number of flags you want on your banner.


Align your two layers and decide how you want to bind them. Secure all corners. I used push-pin brads molded as buttons because I didn't want glue or tape to be visible behind the translucent layer. To push the brads through I first punctured a whole with the end of a binding-paper clip to help reduce wrinkles on the paper from pushing the not-so-durable brads through. 

Apply or trace your letters. Do this step after handling any of the paper to avoid smudges. I used pre-cut glitter letters that already had adhesive on the back. You could also use stickers, stencils, or free-hand a design. Make sure to center!

Punch two holes and thread your ribbon. A hole punch is perfect if you're using ribbon because the ribbon will adjust to the hole size. If you choose to use twine or string, be sure to make a hole small enough so that that your flags will stay in place and not slip around. Thread your ribbon through the bottom side of the first hole so your ribbon will be visible over the top of your flag.

If you're giving your banner as a gift consider leaving extra length on the ends of the strings so they can adjust the distance between the flags, making as long or short as they please.

Add any final details or accents. I used paper-crafted flowers to give it more dimension.
This is probably one of my favorite crafts I have done. The cost was relatively low considering I can reuse the extra paper, ribbon, and letters. Honestly, a trip to the craft store could be avoided for this project. It was so easy to personalize it and tailor it to the person. There are so many directions you could go with it. It's great for indoors and could easily be adapted for outdoor use. Seeing as it's summer and that means it's time for BBQs and outdoor gatherings I think I'll give this a try with burlap as the base layer and maybe felt as the accent layer. 

There's always room for improvement so let me know in the comments if you've made a pennant banner or link one of your favorite.

Saturday, June 1, 2013

DIY: Coconut Flour Bread


I share a love-hate relationship with gluten. Some days I can stomach it and some I can't. 

About a year I was tested for gluten intolerance but just never followed up with any of the results due to it being during a very difficult time in my life. On my own I gave up gluten products for a couple months and felt much better. However after a while I simply got tired of the inconvenience of reading ingredients and spending extra money on specialty items.  

Unfortunately lately I've been having a lot of those low tolerance days. For hours after meals I feel  nauseous with an upset stomach and headache. I've decided to give the gluten free thing a try again and see if my body stops trying to attack me. 

With the stores around me mainly only offering two brands of gluten free bread that I'm not the biggest fan of I decided to put some coconut flour I had laying around to good use. I found a recipe online for Coconut Flour Bread and decided to give it a go. As I began making it I noticed that the ingredients are all extremely sweet. Sweet bread has never been a favorite of mine so I altered the measurements. 

COCONUT FLOUR BREAD 

Ingredients:
6 eggs
1 cup coconut flour
1/4 cup coconut milk
1/2 cup coconut oil
1 tablespoon agave nectar
1/4 teaspoon salt

Preheat oven to 350 degrees


Beat eggs on medium with mixer for 1 minute

Add coconut oil, coconut milk, and agave
Mix until coconut oil is evenly distributed. Some chunks may remain


Sift in coconut flour


Use dough hook and mix on low for 2 minute and then medium for 30 seconds
Dough will be moist and somewhat crumbly


 Coat whatever size pan you choose to use
I used leftover coconut oil to coat the pan but anything you prefer will do
I also split the dough in half as I had intended to give the second loaf to someone else
*Keep in mind the dough won't rise significantly (or much at all)


Bake on medium to low rack
The original recipe called to bake for 45 minutes
As I split my dough I only cooked it for 35-40 minutes

The finished product:


Impressions: 

The bread is dense, extremely dense. It reminded me of a scone, but more moist. I

Even with reducing the amount of agave by almost 2/3 of the original recipe it is way too sweet for my taste. I think it would have been better leaving the agave out entirely. 

It didn't rise at all, at least from what I can tell. I probably shouldn't have split the batter but I think leaving it in portion would have just made a giant brick of sweetness overload.

I would never use it for a sandwich, which is what I was hoping for. I did 't like it as a snack on it's own either.  The only time I see myself consuming it is with a cup of unsweetened tea or coffee - and even then I'd prefer a scone. 

Overall I wouldn't make this again. 
I thought I'd do a review of it in case anyone was thinking of playing around with coconut flour or looking for gluten free recipes. I might consider a different recipe in the future but this one is going out the window. It was too sweet, too dense, and wasn't even coast efficient due to the high price of coconut-anything. For now I think I'll stick to the store bought loaves.

If you have any suggestions for gluten free bread or coconut flour recipes  give me a shout out in the comments. I'd also like to hear about what gluten free store bought bread people prefer. 


Sunday, March 31, 2013

DIY: Decoupage Easter Eggs

Ukrainian Easter Eggs, known as Psyanky, as so beautiful.They are created by melting beeswax and using a stylus to draw multiple layers of designs onto eggs. The eggs are then dipped into dyes to create different hues. This process typically takes 3 to 11 hours to perfect an egg.


Considering I don't have the skills to come anywhere close to recreating one of these beauties I went with more of a decoupage route.

Materials needed:
Eggs
Napkins/thin paper
Pastry/paint brush
Olive oil

I decided to take this route last minute and had to make due with what I had. If I had more time I would have liked to of hunt down the perfect napkin prints and create a theme, but luckily the ones I had on hand fit well with Easter.

Boil your eggs and let sit till room temperature. You could also choose to go a more decorative route and hallow out egg shells.


You can choose to cut shapes or wrap the entire egg with a napkin. With either option you will want to separate the layers of napkins. Simple peel apart the top layer with print from the bottom layers. 


Wrapping the entire egg would mean cutting the napkin down to size and dealing with at least some overlap on the egg. I chose to cut shapes from various napkins. Although this route took much longer, it allowed for a lot more creative leeway. I wasn't sure how small or large the shapes should be so I cut a variety. I found cutting smaller, more delicate patterns a bit tedious but appreciated them as fillers when larger pieces were left with bald spots. 


Once your napkins are cut and eggs are cool you'll take a trip back to that grade school art project. Pasting the napkins reminded me of doing papier-mâché when I was young. I supposed you could use Modge Podge but I used egg whites as a paste. Gently whisk the egg whites (you can add a little water if you feel this is too thick) and use this as a paste to glue on your napkins. You can use a brush or your finger to spread the egg whites, both work fine. Position your napkin on the egg and start brushing the whites from the center and then out to the edges. If you use too much whites your napkin could rip, so don't overdo it.


If you're using the egg carton to hold your eggs make sure you let them dry a little before placing them back  otherwise your napkins will dry and stick to the carton. Once eggs are dry put a little olive oil on a napkin and brush the eggs to give them a glossy look. And then you're done!


These eggs are really that simple - cut, paste, and dry. I had way more fun doing these eggs than actually dying eggs. I also found the clean up to be virtually nonexistent. Really the only clean up I had to do was wash and dry the egg whites bowl.