A coworker's birthday was coming and I wanted to make her a hand-made gift to show that I appreciate her. I've been obsessed with Pennant Banners and decided to give one a go. I was actually really pleased with the process. The materials used are very common craft finds so finding the exact colors/patterns I wanted was a breeze. Assembly of the banner wasn't too difficult either. This is defiantly a good project for someone who feels they lack the crafting gene.

MATERIALS:
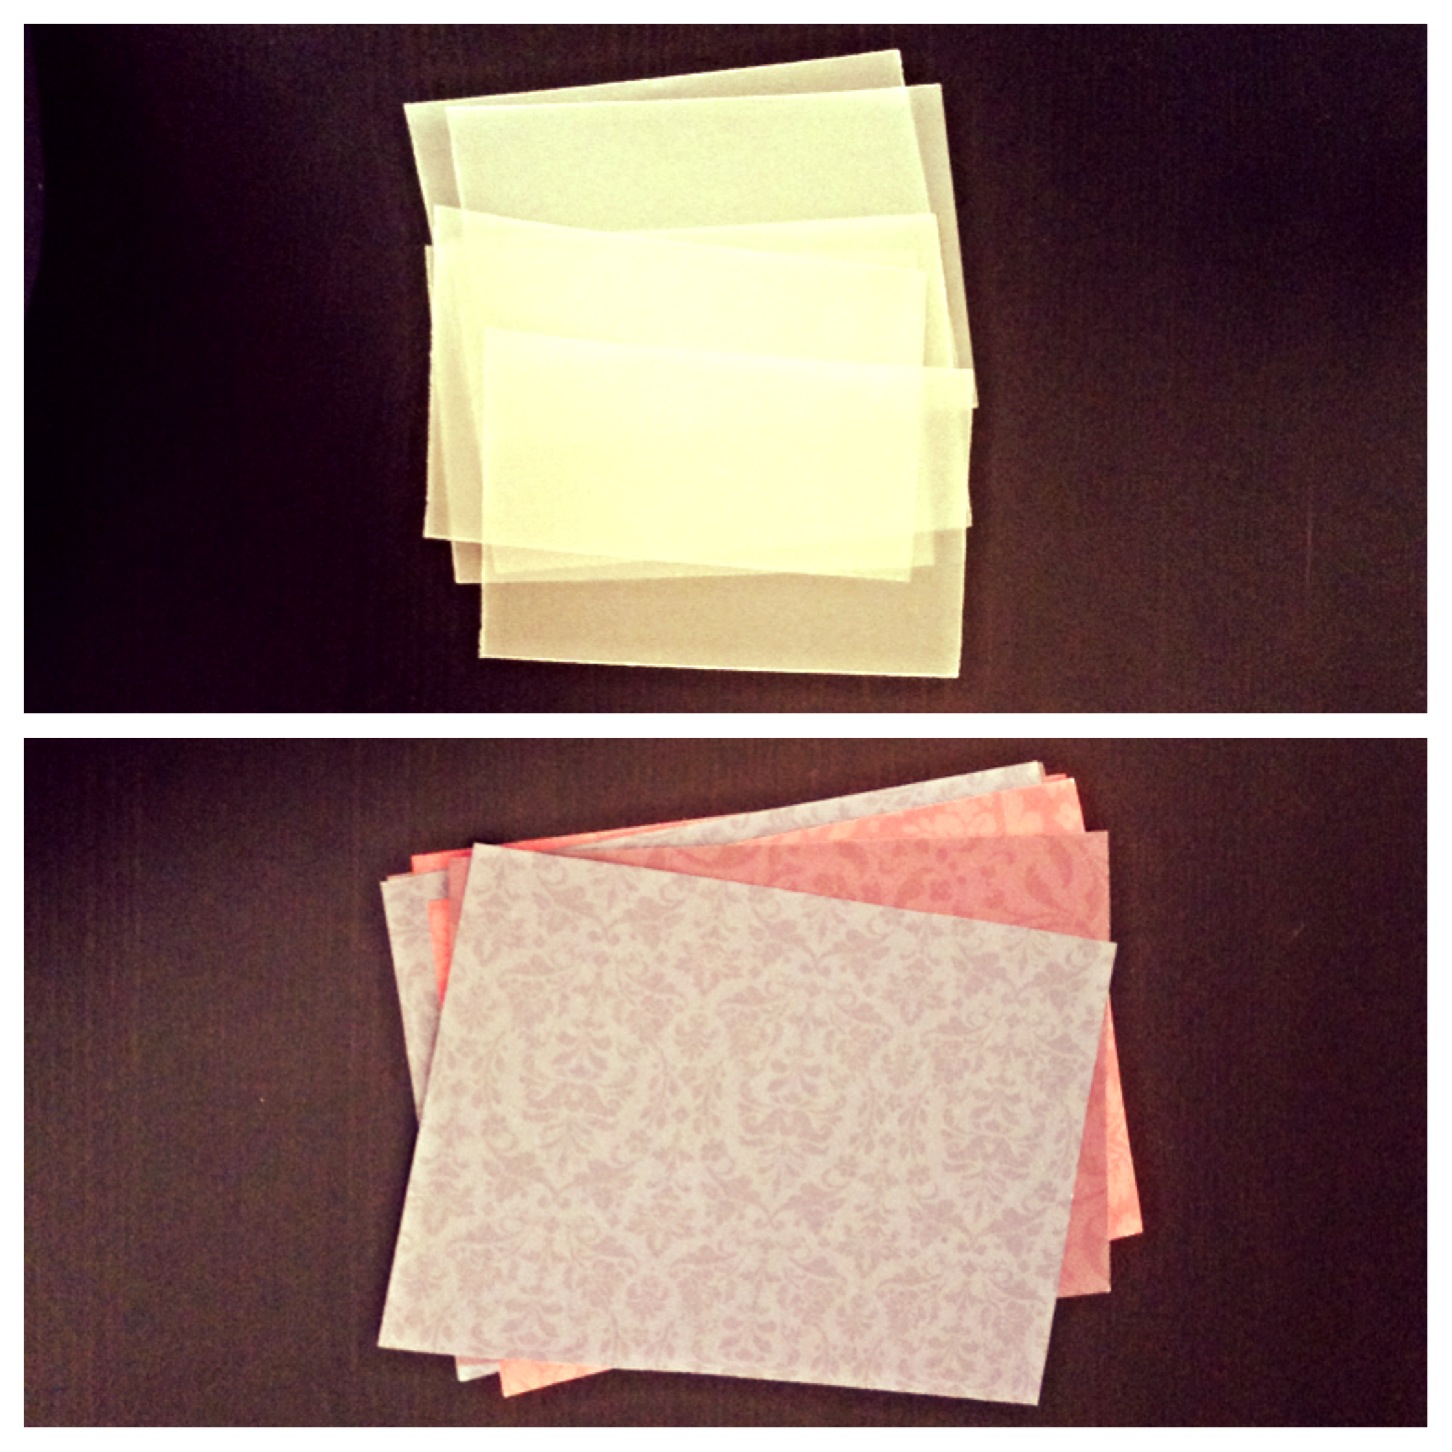
- Card-stock or thicker material for base layer of banner flags
- A second color paper for accent layer on base. I used vellum/translucent paper.
- Glue/tape or some way to bind your two layers. I used push-pin brads.
- Stick on letters (Or stencil and pens to fill)
- Ribbon
- Hole Punch
- Paper Flower Stickers for accent
 PROCESS:
Measure and cut your layers for the flags. Make sure you use two different measurements - you'll want the base layer to be slightly larger than the accent layer so that both layers are visible. By using rectangular shapes measuring was quite easy and didn't have to be proportional. If you're using the traditional pennant shape you'll want to make sure you're keeping the same shape as the base layer, just reducing the size. Make sure to count out the number of flags you want on your banner.
 Align your two layers and decide how you want to bind them. Secure all corners. I used push-pin brads molded as buttons because I didn't want glue or tape to be visible behind the translucent layer. To push the brads through I first punctured a whole with the end of a binding-paper clip to help reduce wrinkles on the paper from pushing the not-so-durable brads through.
 Apply or trace your letters. Do this step after handling any of the paper to avoid smudges. I used pre-cut glitter letters that already had adhesive on the back. You could also use stickers, stencils, or free-hand a design. Make sure to center!
 Punch two holes and thread your ribbon. A hole punch is perfect if you're using ribbon because the ribbon will adjust to the hole size. If you choose to use twine or string, be sure to make a hole small enough so that that your flags will stay in place and not slip around. Thread your ribbon through the bottom side of the first hole so your ribbon will be visible over the top of your flag.
If you're giving your banner as a gift consider leaving extra length on the ends of the strings so they can adjust the distance between the flags, making as long or short as they please.
Add any final details or accents. I used paper-crafted flowers to give it more dimension.

This is probably one of my favorite crafts I have done. The cost was relatively low considering I can reuse the extra paper, ribbon, and letters. Honestly, a trip to the craft store could be avoided for this project. It was so easy to personalize it and tailor it to the person. There are so many directions you could go with it. It's great for indoors and could easily be adapted for outdoor use. Seeing as it's summer and that means it's time for BBQs and outdoor gatherings I think I'll give this a try with burlap as the base layer and maybe felt as the accent layer.
There's always room for improvement so let me know in the comments if you've made a pennant banner or link one of your favorite.
Great blog. All posts have something to learn. Your work is very good and i appreciate you and hopping for some more informative posts. thank you……..
ReplyDeleteYou have great blog. I follow you :)
ReplyDeleteWould you like to follow my blog?
www.guzelvekulturlu.com/